Each sport has a default template to start. You can change this by selecting the "New/Add" icon in the menu bar. This will display a list of background templates to choose from for your already chosen sport.
Once the preferred background template has been chosen, we can start drawing!
Drawing Players
Select the Players icon in the left toolbar. The Players popup will appear.
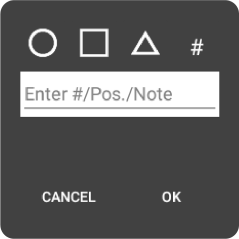
You can select any symbol, select OK and press on the drawing area to insert that player.
You can also enter a player number or position acronym and that will be displayed in the symbol you've chosen.
You can select the # symbol, type in the player number or position acronym and that will be inserted with no symbol.
If you’d like to move the player, press the picker icon in the left toolbox, touch on the player. A yellow handle appears. Press and drag the player to the new location. Press anywhere on the diagram, the yellow handle is removed.
Adding Movement
Select the Movement icon in the left toolbar and the Movement popup will appear.
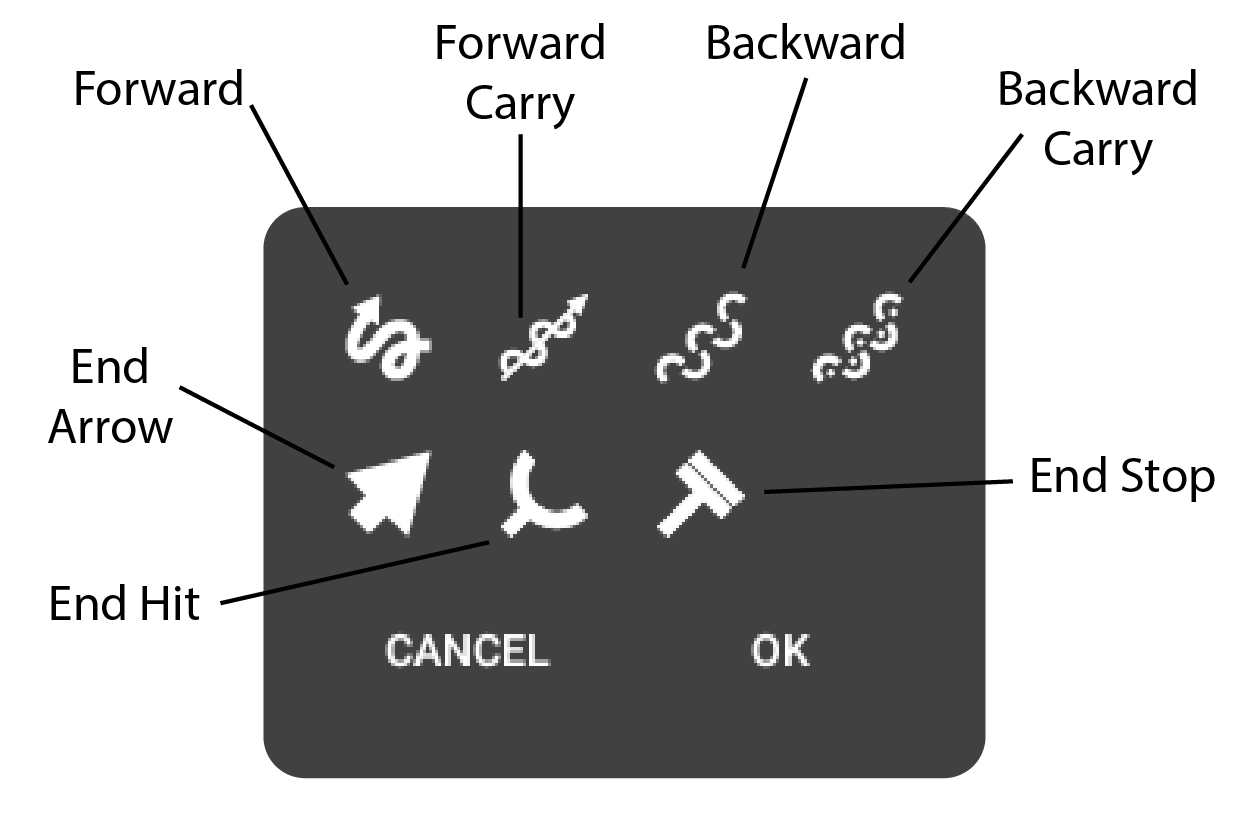
Select the movement type you want to draw. The end action will default to Arrow, however, you can select Hit (tackle) or Stop to end the action.
Select OK, then press on the diagram where you’d like the movement to start from, drag your finger or stylus along the path you’d like that movement to take, lift your finger or stylus. The line will be drawn.
Adding Skills
Select the Action/Skills icon in the left toolbar and the Action/Skills popup will appear.
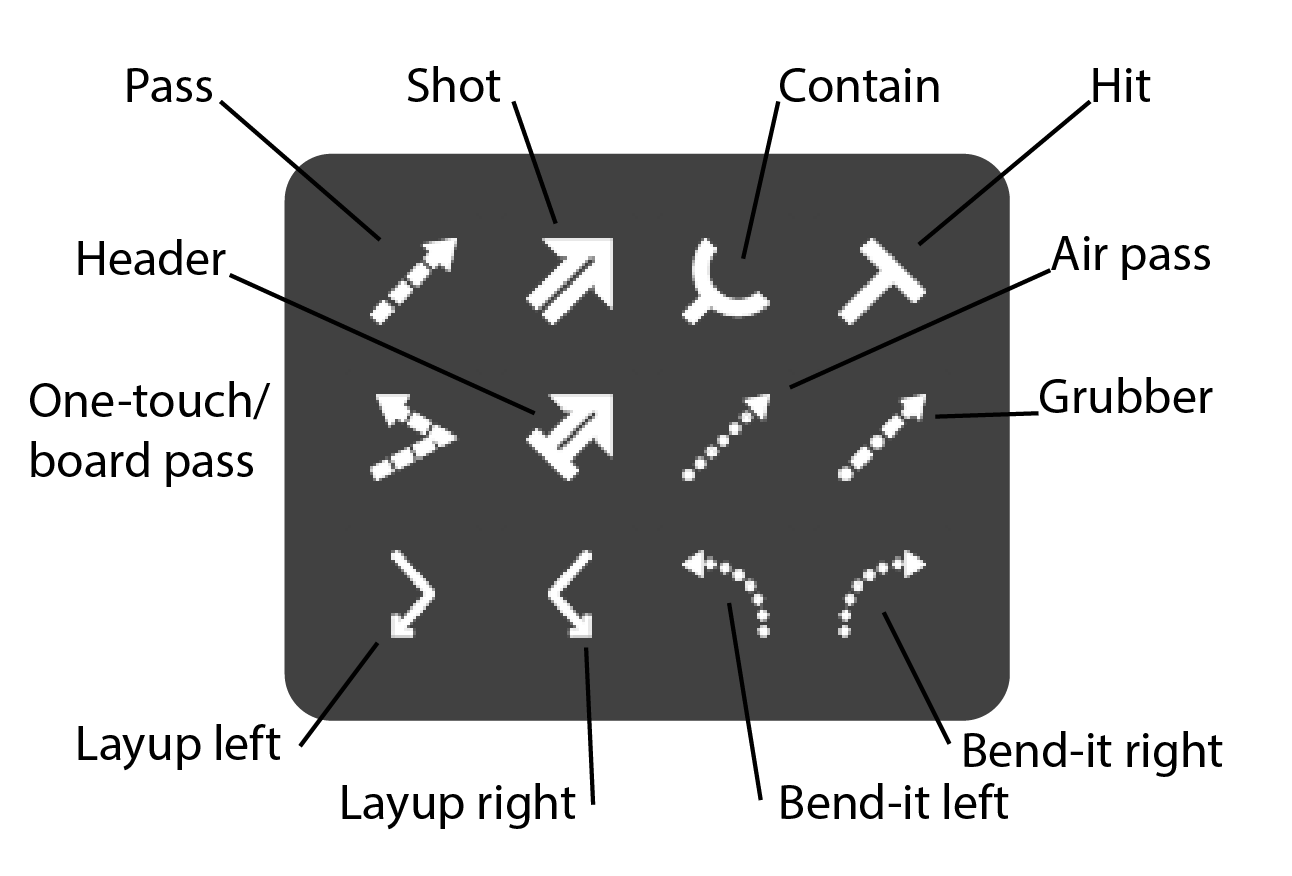
Select the Action type you want to draw.
All Actions have a start-point and an end-point.
Select OK, then press on the diagram where you’d like the Action to start from, then press on the diagram where you’d like the Action to end OR in the direction you want the action to point (like a shot).
A pass-redirect has three points, so press start, midpoint, then end point. Good for depicting board passes or one-touch passes.
Adding equipment
Select the Equipment icon in the left toolbar and the Equipment popup will appear.
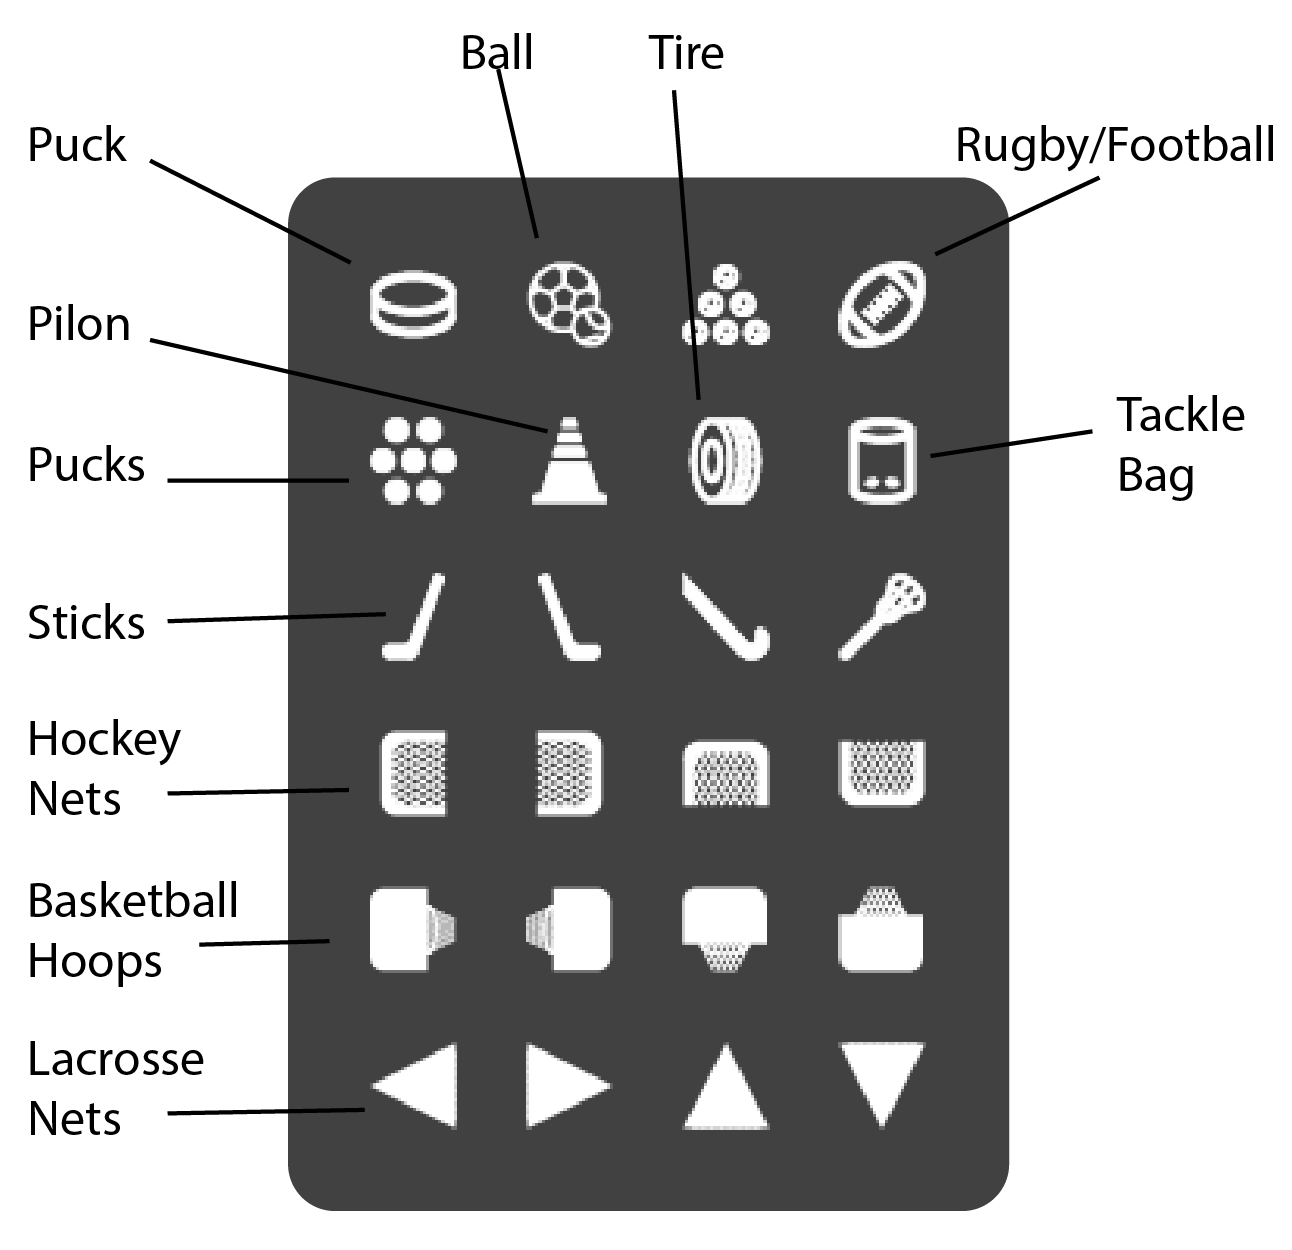
Select the Equipment type you want to draw.
Sticks require two points to draw in place – the start and the second point sets stick direction.
All other equipment only requires one press to draw it in place.
Deleting an Item
Press on the Picker icon in the left toolbar.
Select the item you want to delete.
Press the Delete icon in the top toolbar and the item will be deleted.
Moving an Item
Press on the Picker icon in the left toolbar.
Select the item you want to move.
Press and hold the yellow handle that appears and drag the item to the position you want.
Changing Colours or Line Thickness
To change the current drawing colour, select the colour pallette icon in the top toolbar.
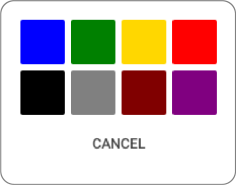
The colour popup will appear. Select one of the colours like to use.
To change the current line thinkness used drawing movements, select the line-thickness icon in the top toolbar.
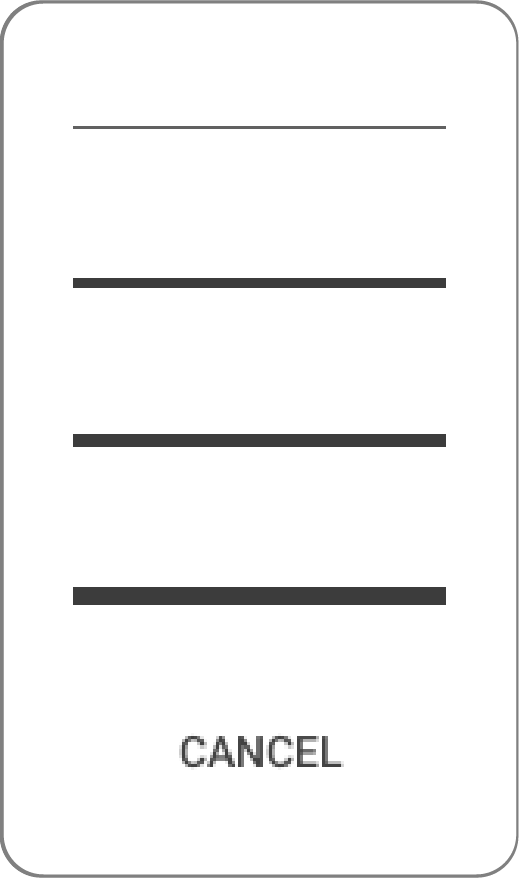
Select the line-thickness you want. Any lines drawn after selecting, will be drawn at the thickness selected.
Using Point-to-Point drawing
Point-to-point drawing is much cleaner and more accurate than manual drawing. It is also best to use a stylus for best manipulation of the drawing points.
Select the Point-to-point icon in the top toolbar and select the number of points or "handles" you'd like to use. Any selection always draws a straignt line, pressing and dragging any point allows you to bend or curve movement lines as needed.
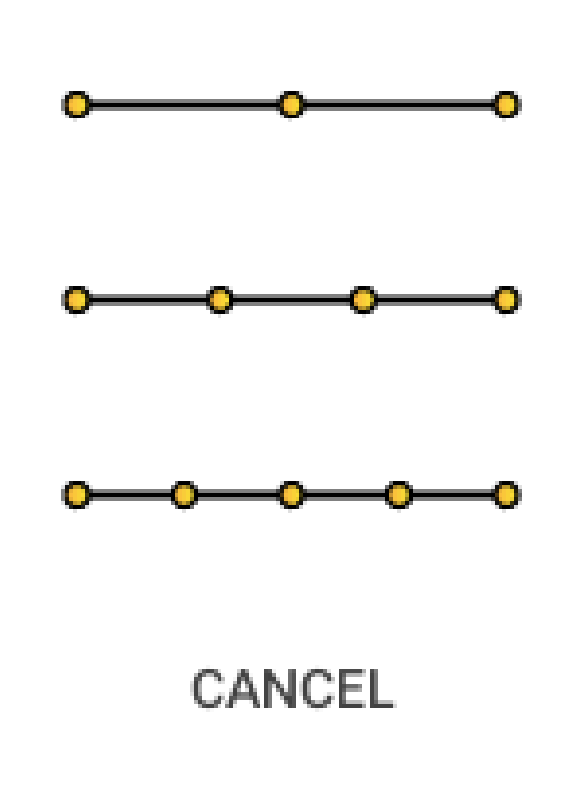
Press on the drawing area where the movement should start and again, where the movement should end. You should get a straight line with the number of "handles" you selected.
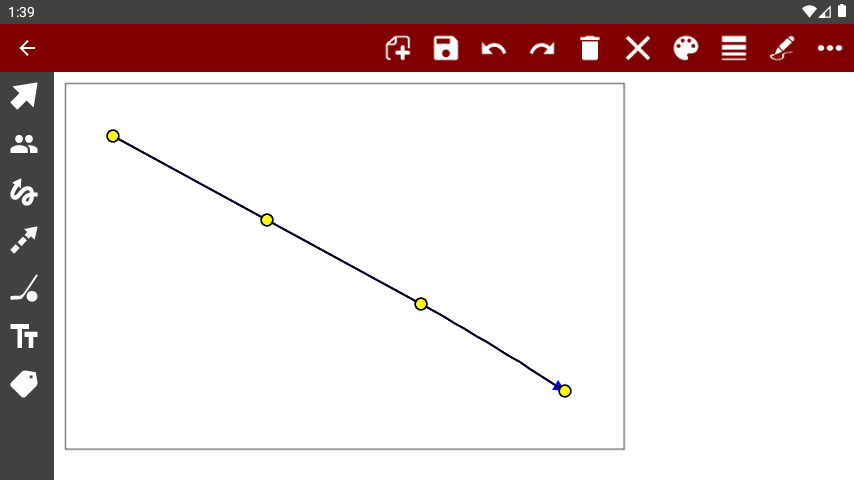
Press and drag any point or "handle" to bend or curve the movement line to where you'd like, then release.
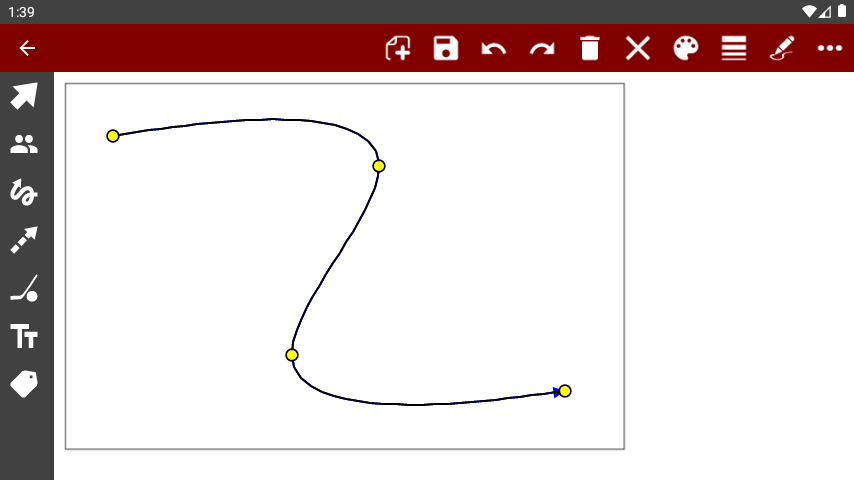
You should end up with a line similar to the diagram above.
To draw a new line, repeat these steps.
To return to free-hand drawing, simply press the point-to-point icon once again. Nothing will show up. You will be able to draw free-hand using your finger or a stylus.
Editing a Diagram
To edit a diagram, left-swipe the diagram in the category list.
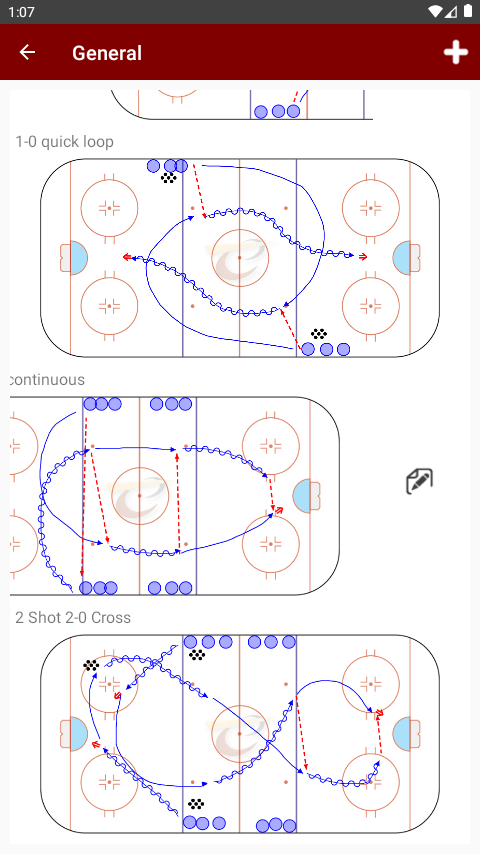
Press the exposed Edit icon. The diagram will open to be edited.
Deleting a Diagram
You can delete a drill by swiping right and exposing the Delete icon next to the drill.
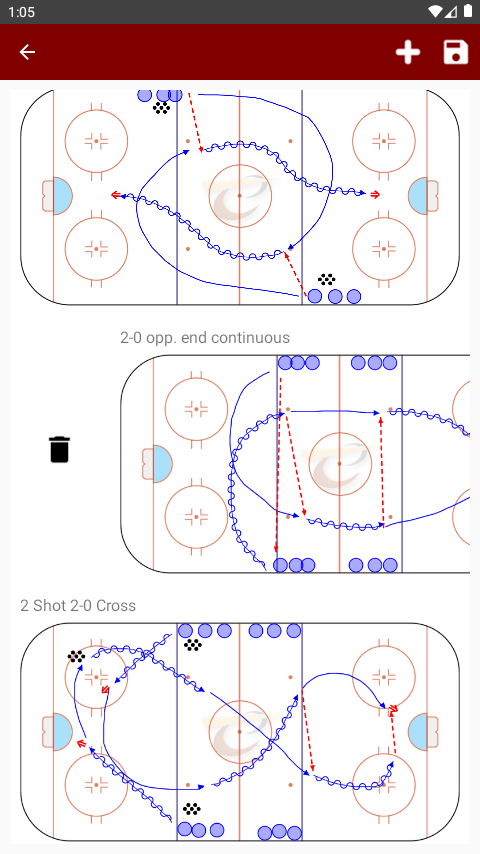
Press the delete button to delete the drill.
Note - if the drill is associated with any plans, you will be notified and asked to continue. If you chose to delete anyway, that drill in that category will no longer be associated with any plan. That drill will however, still be available to re-assign from the General category.